May the Force Be With You This Halloween! Check out how to level up your trick-or-treat game with your full view storm door!

Does your Halloween consist of family-themed costumes? If so, you likely already have a design in mind. Jordan, Derek and Koda have opted to dress up in Star Wars costumes. Building on that theme, they will walk you through their Halloween storm door theme below.
The first thing you need to do is to come up with a theme. Maybe it will be Super Mario, Squid Game, Harry Potter, Baby Shark, The Addams Family, Black Panther, The Incredibles, Scooby-Doo or another internet-breaking costume.
Brainstorm with your troupe and determine your theme.
.png?width=1920&name=Step%201%20(1).png)
For this project, you will need:
- Cardboard (source or cut the same size as the glass in your storm door)
- Pencils
- Acrylic Paint
- Paint Brushes
- Scissors or X-Acto Knife
- Duct Tape
- Small Garbage Bags
After your gather your supplies, select the most artistic member of your family to complete the next step.
.png?width=1920&name=Step%201%20(2).png)
On your large cardboard sheet, draw or trace your design. Jordan used a pencil to free-hand her Star Wars design. You can also use a projector to trace your design onto your cardboard. Using a pencil allows you to correct mistakes as you go.
Make sure to mark where your holes will be. It is best to keep them low enough for small trick-or-treaters to reach.
.png?width=1920&name=Step%201%20(3).png)
Using acrylic paint in your choice of colors to fill in your design. Get the whole family involved!
When you finish painting. let your design dry for at least 24 hours. When dry, you can opt to use a clear coat of spray paint to seal in your design. If you choose to use a clear coat of spray paint, make sure to allow your design to dry for another 24 hours in a well-ventilated space.
.png?width=1920&name=Step%201%20(4).png)
Make sure an adult completes the next step. Cut holes in the cardboard, where you marked them in Step 3. This is where your tricks or treats will go. Make sure that the holes are big enough for hands to fit through.
.png?width=1920&name=Step%201%20(5).png)
Secure small garbage bags, behind each hand hole using duct tape. Don't be skimpy on the tape. This is where your candy and other tricks and treats will be stored.
.png?width=1920&name=Step%201%20(6).png)
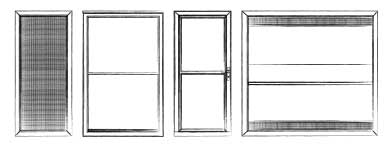
Now it's time to bring your cardboard to your storm door. First, remove the glass by placing a flathead screwdriver in the groove next to the door frame approximately one inch from the top or bottom of the glass insert. Next, tilt the screwdriver at a slight angle, tipping the handle towards the door frame. Tap the end of the screwdriver until the end of the retainer pops out of the track; set aside. Remove the glass and store in safe place. Grab your cardboard design and position it in the door, where your glass was. Use the retainer strips to secure your cardboard in place.
Please note, you will want to do this day of trick-or-treating. The cardboard insert is not intended to provide the security and weather protection that your storm door glass provides.
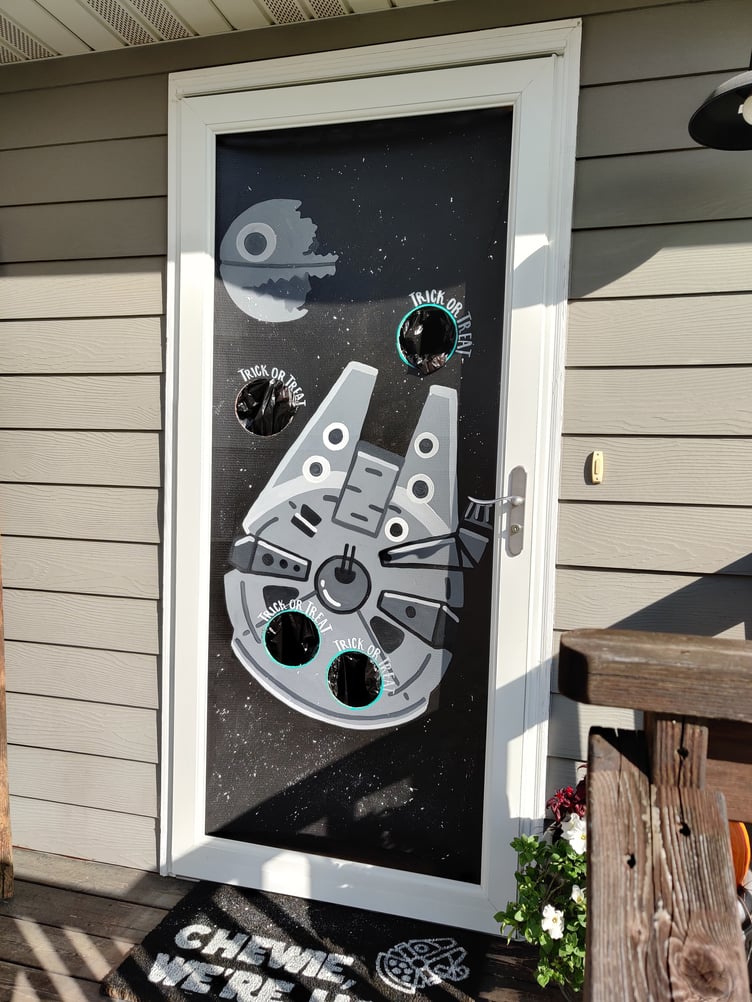
.png?width=1920&name=Step%201%20(7).png)
In the image above, we've circled each of the hand holes. They say "Trick Or Treat" above each opening. Trick-or-Treaters will find a trick or a treat in each one of the hand holes. Jordan plans on having one of the following in each compartment.
1. Slime
3. Halloween Candy
4. Homemade Light Sabers (pretzel rods dipped in colored almond bark)
.png?width=1920&name=Step%201%20(8).png)
Create or buy a front door mat to match your theme. Jordan created this custom door mat by using directions from our blog.
Make sure to find Fido a matching costume, like the one pictured above. Take a photo in front of your front door and send us a photo!

Happy Halloween and May the Force be with you!


 CHAT WITH US
 888.483.3768