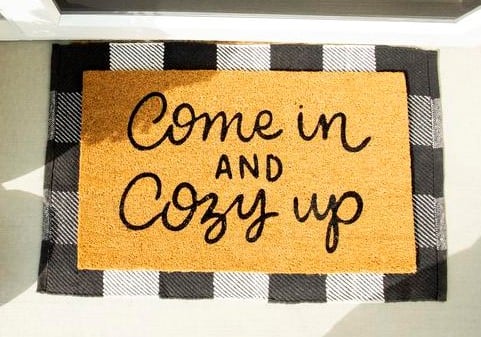
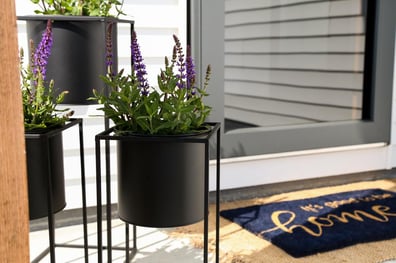
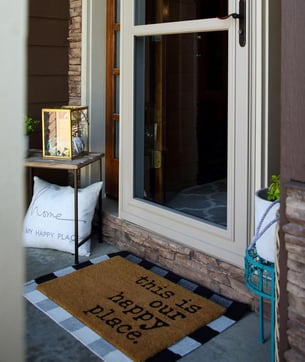
The doormat is the ultimate accessory to a LARSON storm door entrance and can be utilized for any season and any form of welcome you want. This post will share how you can make two easy DIY doormats for a low cost, but classy addition to your curb appeal.
You have probably seen your neighbors with these doormats on their front porch and have been wondering, “Where can I get one of those?”. Spending a ton of money on customization is not practical and not necessary. Truth is Coir (Did you know that’s what they are called? I didn’t!) doormats are back in style, but this time people are preferring a type of twist. Whether it’s a sarcastic comment, a movie quote or even a funky pattern homeowners want to have a personalized welcome as you walk through their storm door.
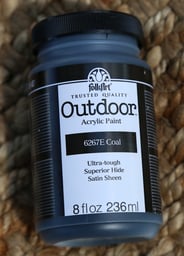
For this DIY, I will be painting a doormat using Folk Art Outdoor paint and for my other I will be using Flex Seal. I found these two ways to be the easiest and simplest for an average homeowner.
Step 1 Get Your Supplies Together
These doormats are really anything you want it to be. That is the great thing about DIY projects. I thought it would be cute to make a personalized mat for LARSON. Check out the bottom of this page for more inspiration. Please note that these are not the only products you can use and these are what worked best for me.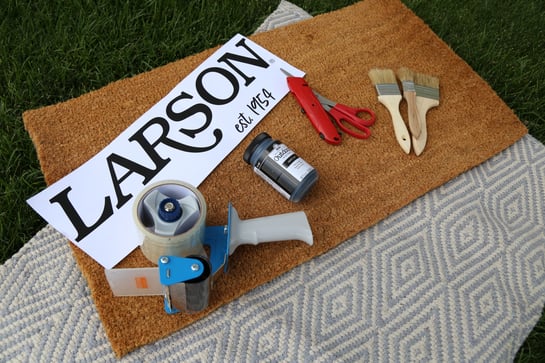
Painted doormat
- A blank coir mat
- Chip paint brush - best for getting in between the bristles
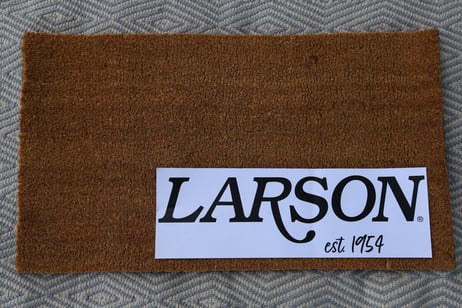
- Stencil - this can be something you have drawn, or printed out to help you get the design you would like.
- Paint - this can be whatever you would like. I will be using black.
- Box cutter / Scissors
Flex Seal doormat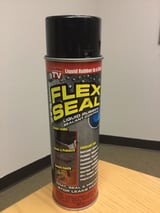
- Flex Seal
- you will not need the paint brushes or the paint for this mat, but you will need everything else.
Step 2 Decide on Your Design
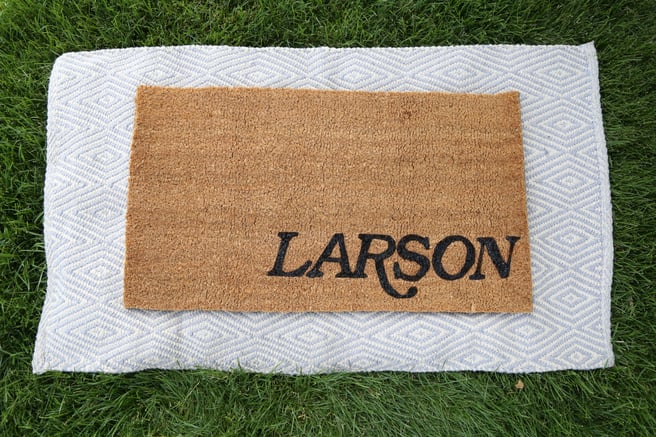
Deciding on the design you would like is almost as awesome as seeing the final product. You can keep it simple or make it complex. It is all up to you. Like I mentioned above this can really be what you want. I am going to put our LARSON logo on the painted mat to add a little cozy and welcoming feel to our front porch. For my Flex Seal doormat, I want to make a pet-friendly doormat that appeals to all our dog owners.
Step 3 Make Your Stencil
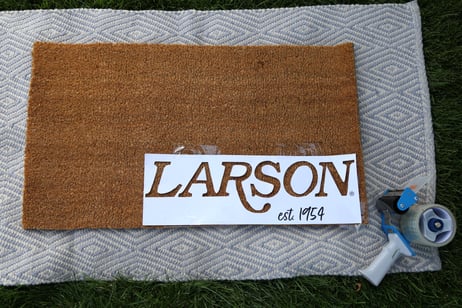
There are many ways you can do this. I am going to create this with the least amount of equipment so everyone has the opportunity to make this. I have printed out what I want. I will now cut out the parts that I want using the box cutter and place the stencil on the doormat. Scissors can also be used to cut out your stencil. I found that the box cutter was a lot easier, but scissors may be easier to find. Using the box cutter helped me get the straightest lines for what I needed. To secure the stencil to the mat I used packaging tape. This doesn't stick the best to the mat, but this turned out to be the best.
On the Flex Seal mat I used the same materials, but I added paper to cover the whole doormat to make sure that what I sprayed only got on what I wanted.
Step 4 Paint/Spray Your Door Mat
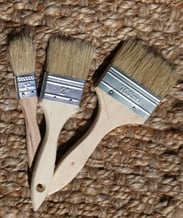
Once you have made your stencil and it is secured the next step is to actually paint the door mat. It is as simple as it sounds. In order to get a deeper and longer lasting design I recommend that you make sure you try and paint most of the bristle. Using the brush and paint we offer in the supplies list will help with natural wear and tear of the elements. The chip brush has long bristles that connect well with the bristles of the doormat. On the second doormat using the Flex Seal, you just spray where you want. Then you wait for both of them to dry.
Step 5 Share Your Creation!
Tag @larsondoors #mylarsondoor #larson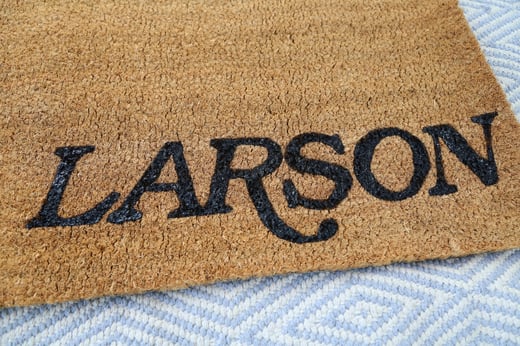
Thank you so much for creating with me! Now is for the easiest step. Post your doormat on social media channels. We would LOVE to see your creations and how they have added to your curb appeal. Make sure to tag @larsondoors and #mylarsondoor while sharing on Facebook, Instagram, TikTok and Twitter.
Check out our TikTok and Instagram accounts, @larsondoors to watch me make this in real time.
.png?width=800&height=202&name=Logo_Larson_Script_95k%20(1).png)
.png?width=2240&name=June%20Blog%20Header%20%20%20(1).png)


 CHAT WITH US
 888.483.3768