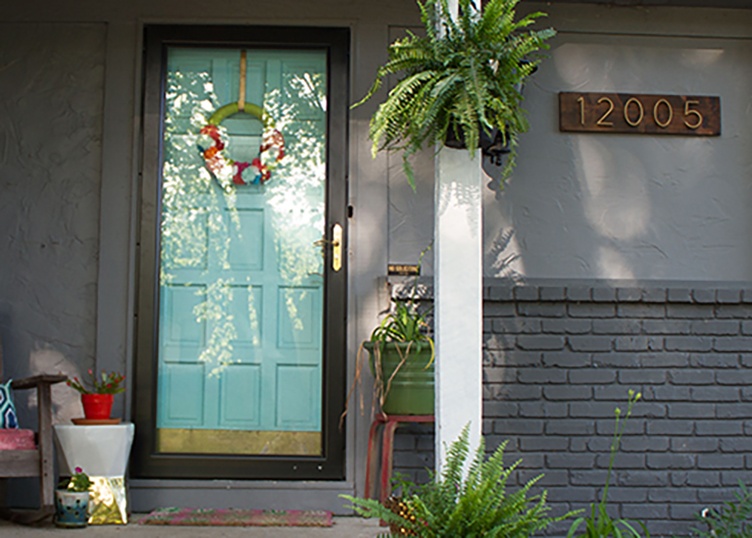
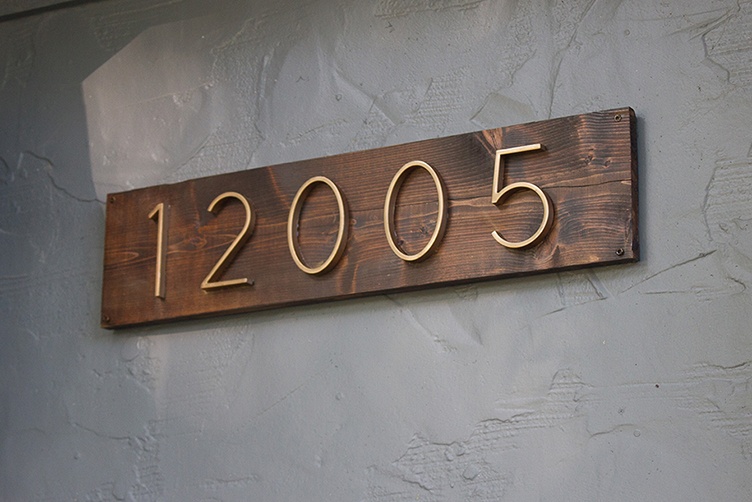
 AFTER
AFTER
We moved into our fixer upper two summers ago, and ever since I had been wanting to change out the house numbers. Last weekend I finally got my chance. Follow along on my easy DIY modern house numbers tutorial!

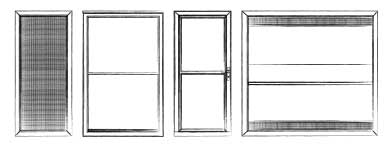
Here is a before photo of the house numbers.
Nothing was wrong with them, just kind of boring in our opinion, and in need of some personality and a touch of modern style—our favorite.
Let me show you how to make some modern house numbers of your own. It's easier than you might think.
Gather your supplies:
+ House numbers (from your local hardware store or Amazon)
+ Wood stain in your desired color
+ Spray paint (if you choose to paint a different color)
+ Cedar wood board (at least 1" thick)
+ Hand saw
+ Ruler or tape measure
+ Epoxy glue
+ Screwdriver
+ Level
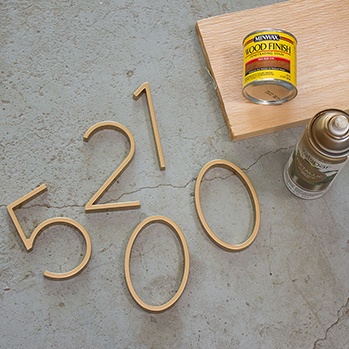
I removed the numbers from the packaging and spray painted two coats of metallic gold spray paint.
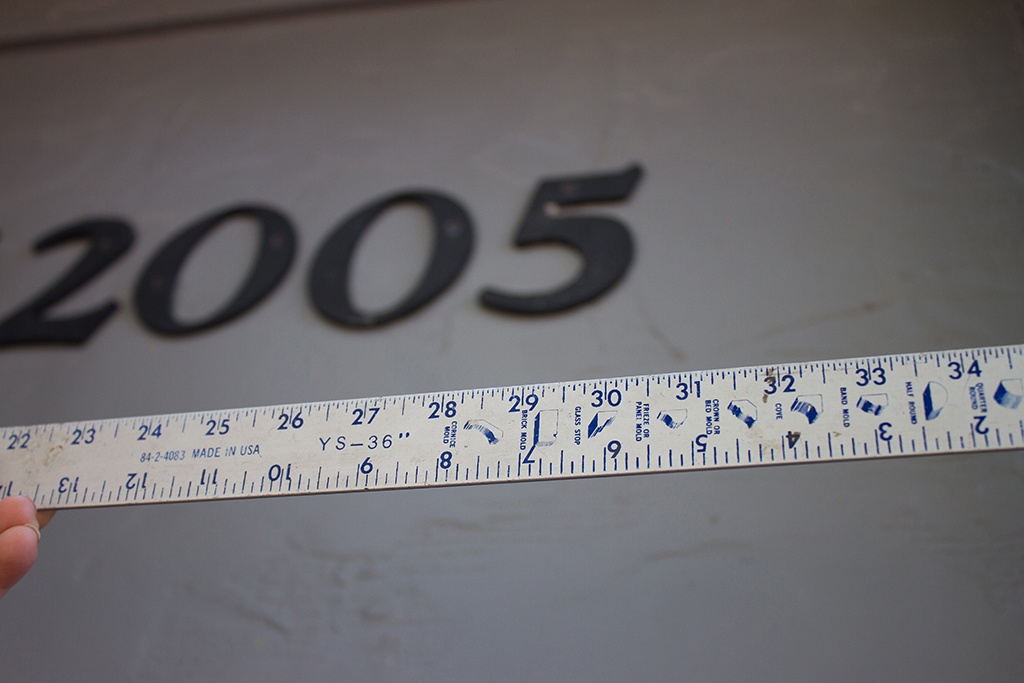
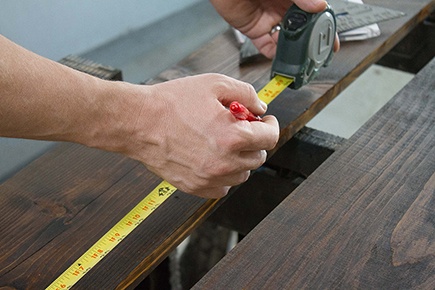
Next, I took my ruler to measure the current house numbers and to determine the width the cedar plank should be 30" seemed perfect for our needs.
We decided that we would add our board right over our current house numbers since they were not very thick and I liked the idea of the board sort of floating.
I decided to stain my board before cutting the wood, mostly because my husband was busy working on another project at the moment. You can do this in any order that you wish.
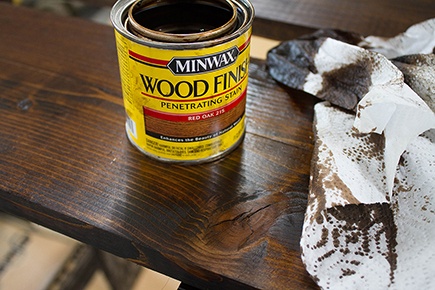
Follow the direction on the wood stain for best results, and let dry.
Once dry, measure your board to your desired width, and mark with a pen in a straight line.
Saw over the drawn line until the board is cut.
My numbers came with screws that allow for the numbers to float off the surface, and I originally decided to go with that look, but quickly discovered that I preferred the flushed look for this project.
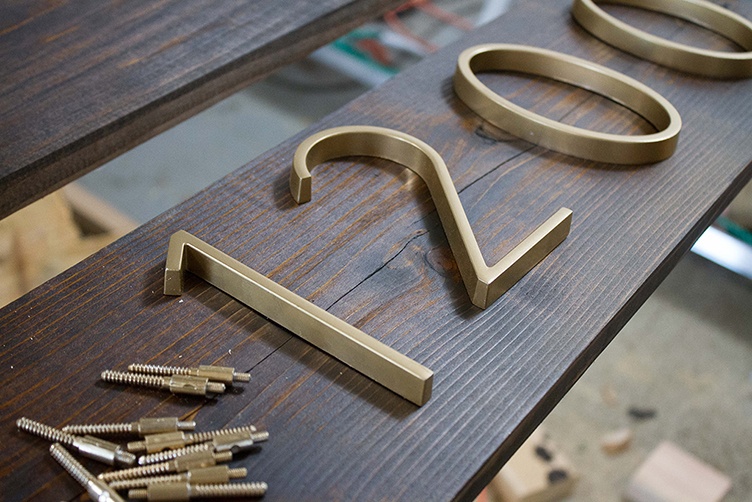
Again, I wanted the flush look, but there was no way to attach them in that manner to my 1" board, so I decided to use my trusty epoxy. It is easy to use, sets in 5 minutes, and will be able to stand the elements.
I epoxied the backs of all numbers and evenly placed them on the board. I placed cans of spray paint and stain (what I could fid quickly) over the top of the numbers to hold them down for the five minutes, and that seemed to work well.

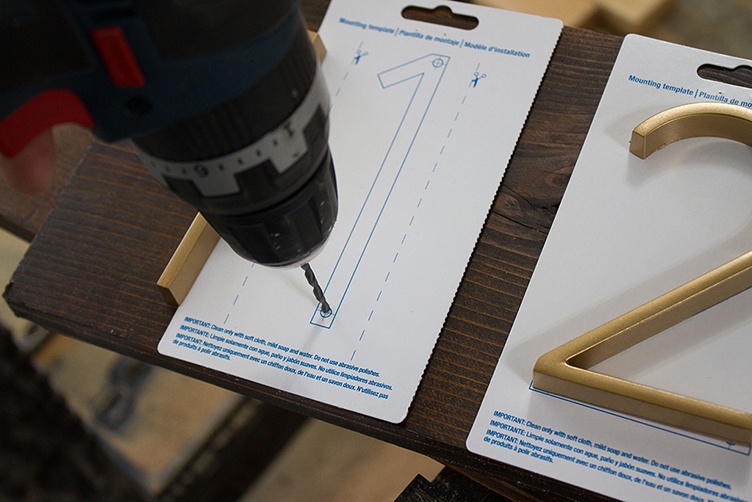
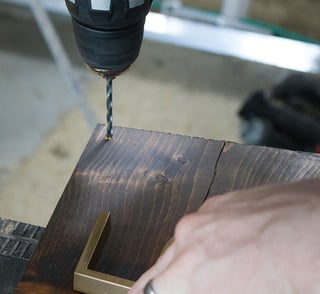
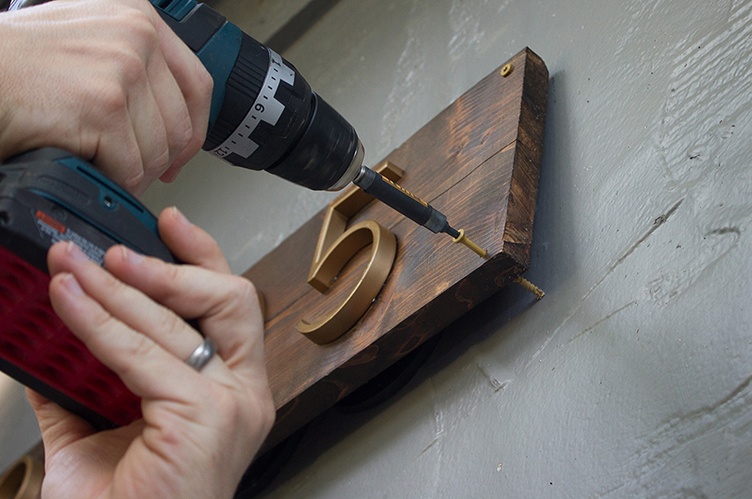
I gave the numbers an hour to cure, and then we screwed pilot holes in all four corners of the wood plank for easier installation and to lessen the chances of the wood splitting at the corners (if installed without pilot holes).
We screwed one screw on the top of the plank to attach it to the house, and then grabbed the level.
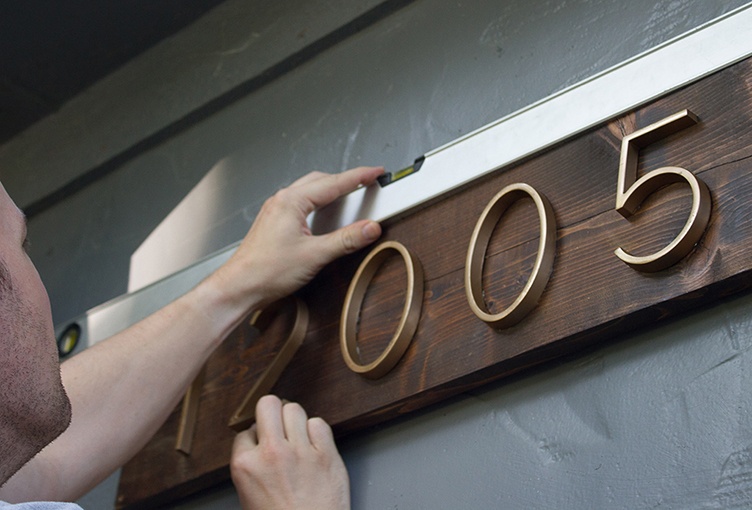
We leveled out the plank and then screwed in the three remaining screws.
We took a Q-tip and dabbed some stain over the screws to help disguise them a little bit better.
We love that the wood will lighten up and weather over times from the elements. We can always stain it again if ever needed.
This project was easier and quicker than I expected, and I LOVE the end results. It upped our curb appeal just a touch more, don't you think?
Read more home improvent ideas by Oh So Lovely Blog!


 CHAT WITH US
 888.483.3768