 Now that winter's behind us we've been spending a lot of time outside working on our landscaping and lawn, but our front porch was in major need of a spring makeover.
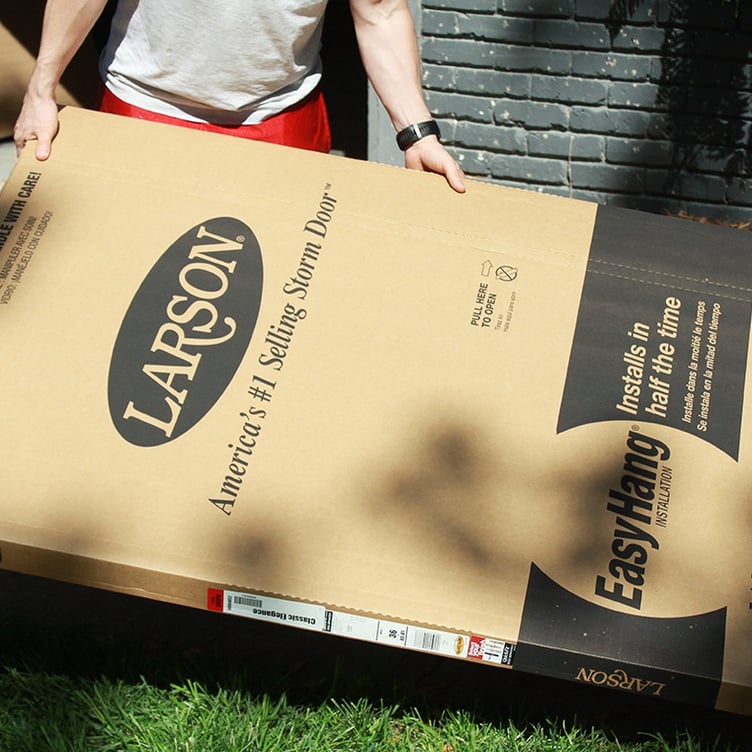
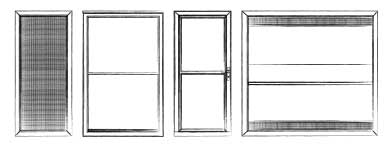
We'd been eyeing a few different Larson Storm Doors for a couple of weeks, and agreed on a black one with a brass handle from the Classic Fullview Collection. We had a storm door at our last house, and we were really missing having one in our new house. The full glass design lets in maximum natural light with enhanced energy efficiency. Our dark and window-less entryway was just begging for one.
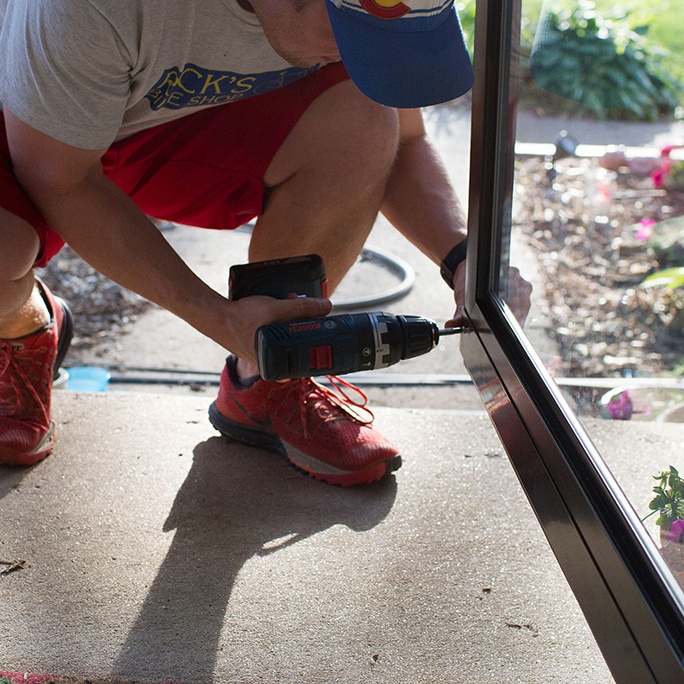
We were so excited to finally have a storm door again—so excited that my husband Ted installed it the very day we got it.
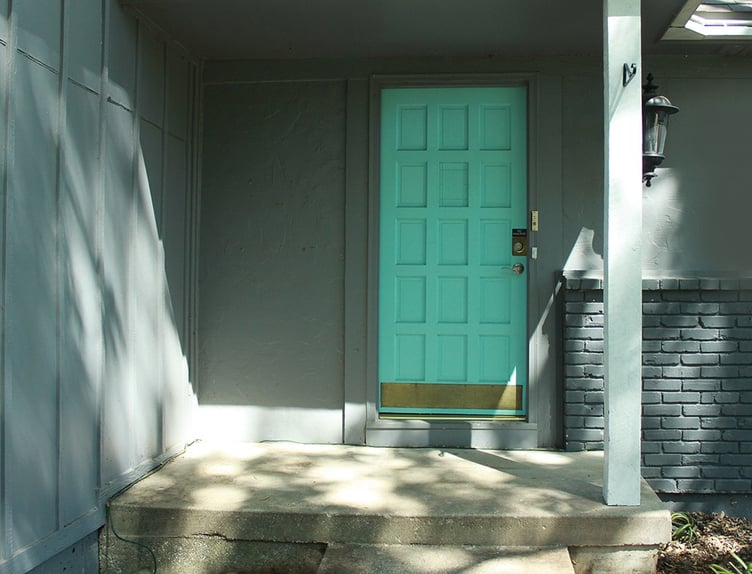
Here's a before photo of the porch—it needed a a major sweeping so I cleared it off to start from scratch.
Let's walk through the easy installation steps, shall we?
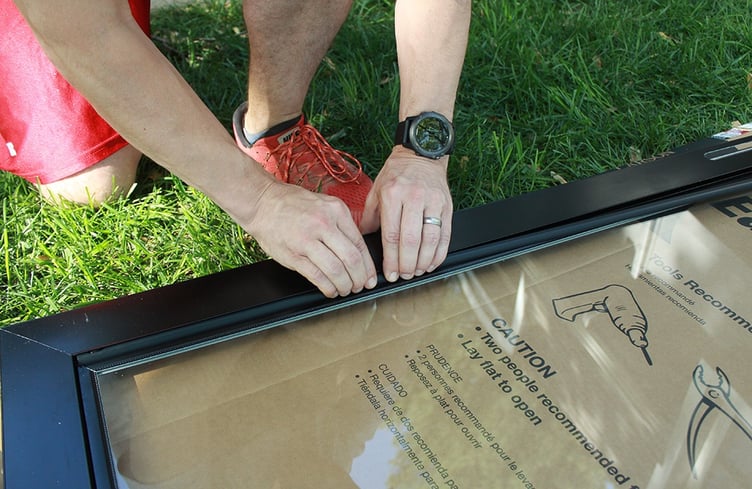
Ted unboxed the door and organized of the parts.
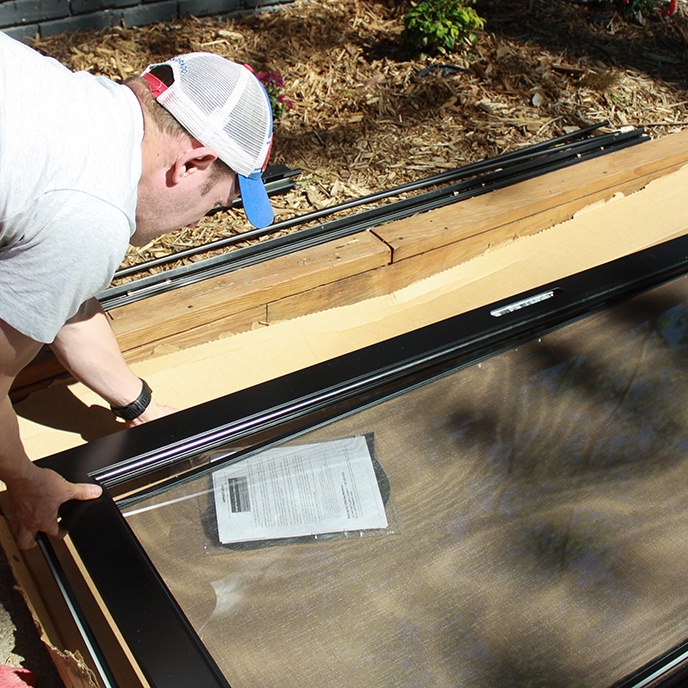
The door came with two interchangeable pieces: a full-size screen and a full-size glass, and they seem pretty easy to change out if needed. We opted for the glass option since we have a few windows with screens on the front of the house that will bring in a nice cross breeze.
Ted put together the frame and snapped in the glass retaining strip.
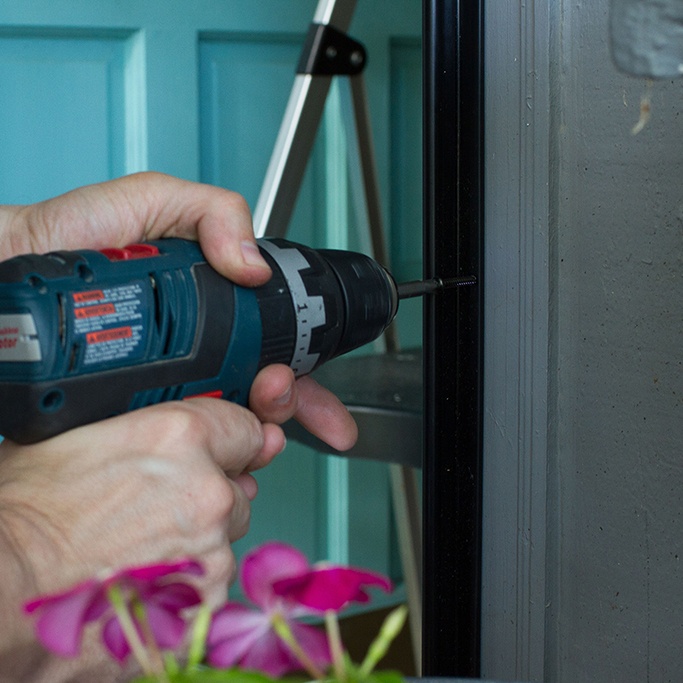
Then he took the hinge set and marked on the door frame where it needed to be drilled, and installed the placeholder screw. Next, he attached the door on the left hinge side and the frame on the right side.
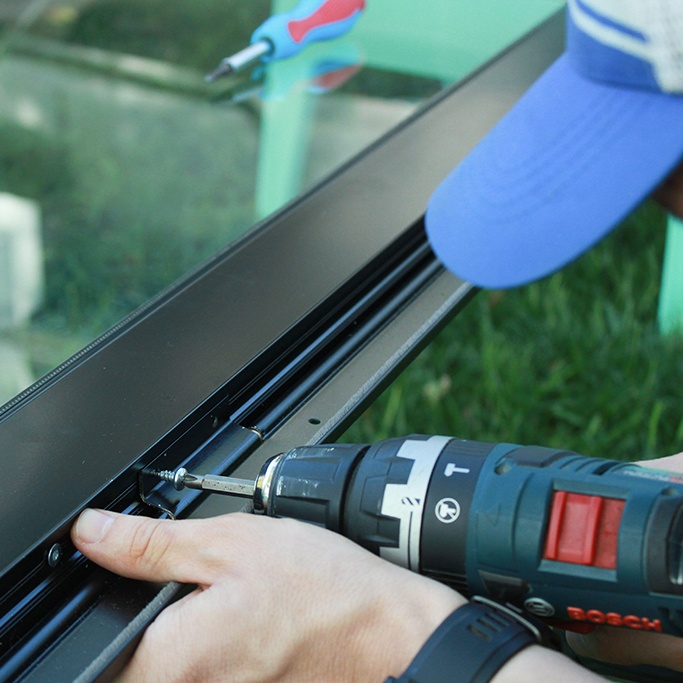
Next, he attached the door on the left hinge side and the frame on the right side.
He attached the decorative brass lever handle, which includes a built-in keyed deadbolt lock.
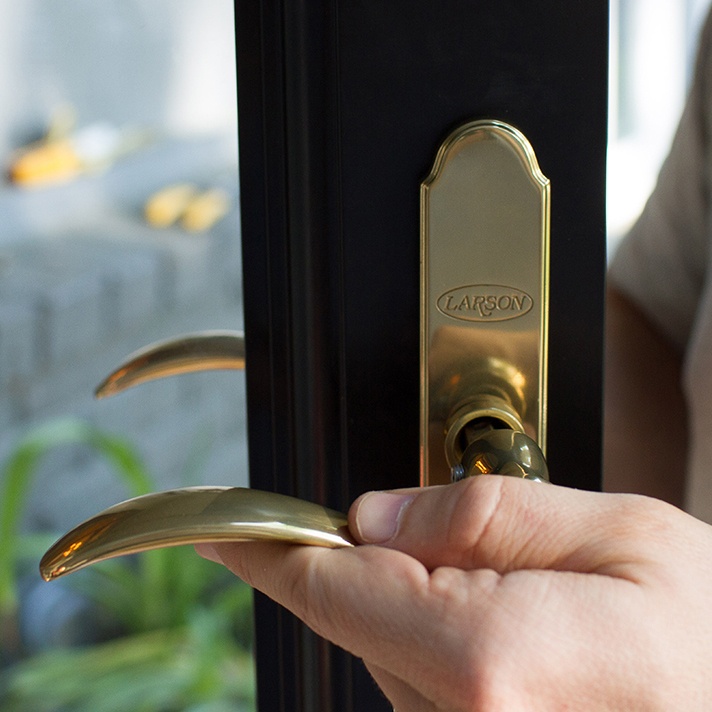
One thing that Ted loved were the funnels that Larson provided to help guide the bolts. They were definitely a time saver.
He ran the heavy duty weatherstripping (which blocks out harsh weather) through the bottom of the sweep. He used soap and water, which made running it through much easier. Then he attached the sweep to the bottom of the door.
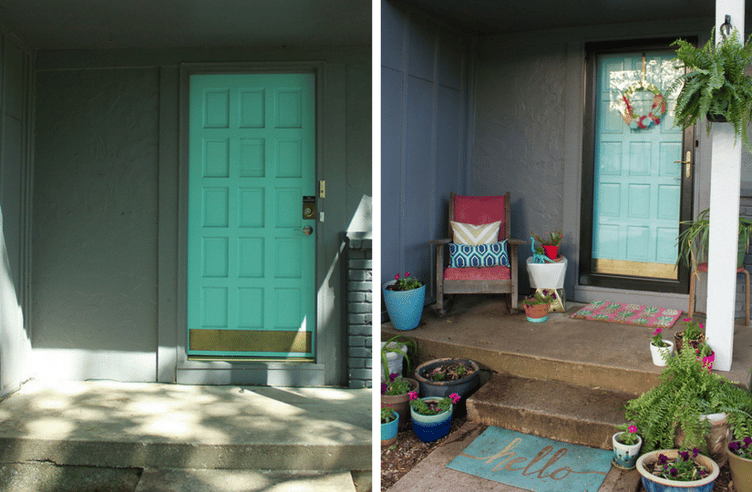
He then attached the top and bottom closers and the final pieces of trim, and our Larson Storm Door install was complete. MUCH better!
I styled the porch with a cute pineapple rug from Target, potted some colorful flowers, and hung a Boston fern. Fresh plants and flowers always make a porch look it's best.
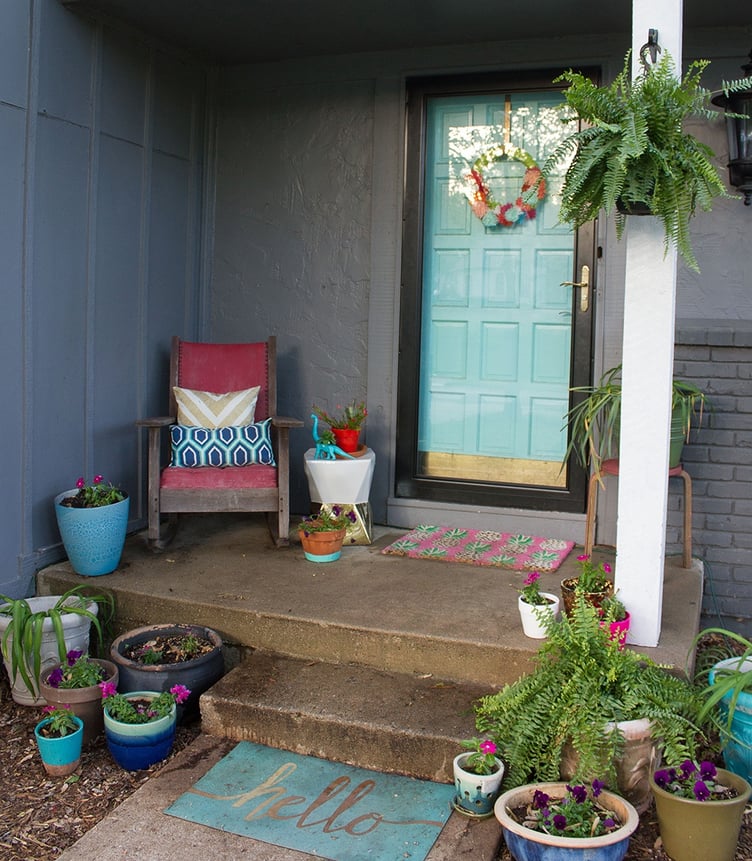
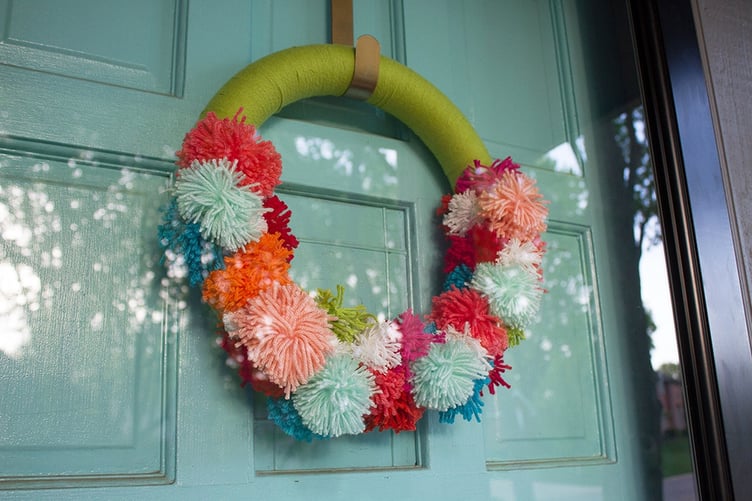
I also tossed a couple of pillows on the chair, added a garden stool, a colorful DIY pom-pom wreath (check out how to hang a wreath here!),and my DIY dinosaur planter.
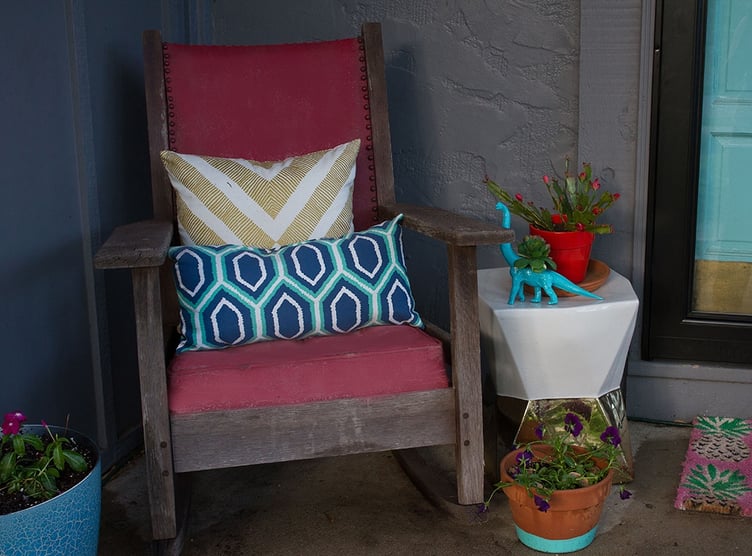
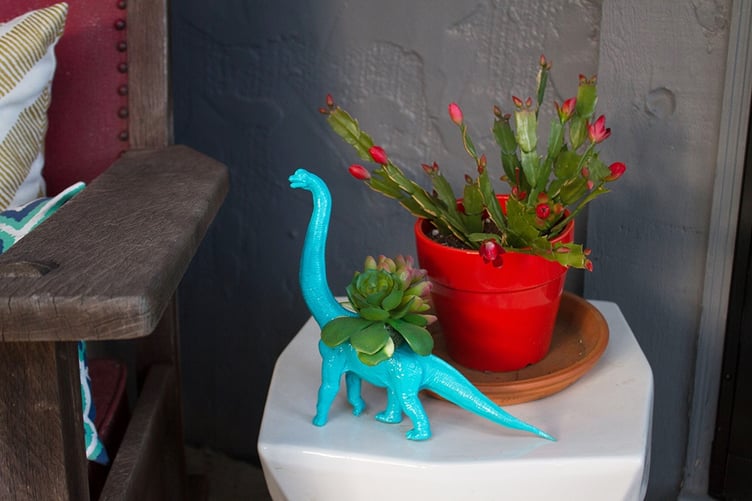
P.S. The succulents and Christmas cactus are fake. Can you tell? I added them to the garden stool because they get no rain water, and sometimes I forget to regularly water them, so they should work out perfectly in this spot. :)
I'm absolutely loving our affordable spring porch makeover and new Larson Storm Door! Anyone else working on their spring curb appeal game?


 CHAT WITH US
 888.483.3768